


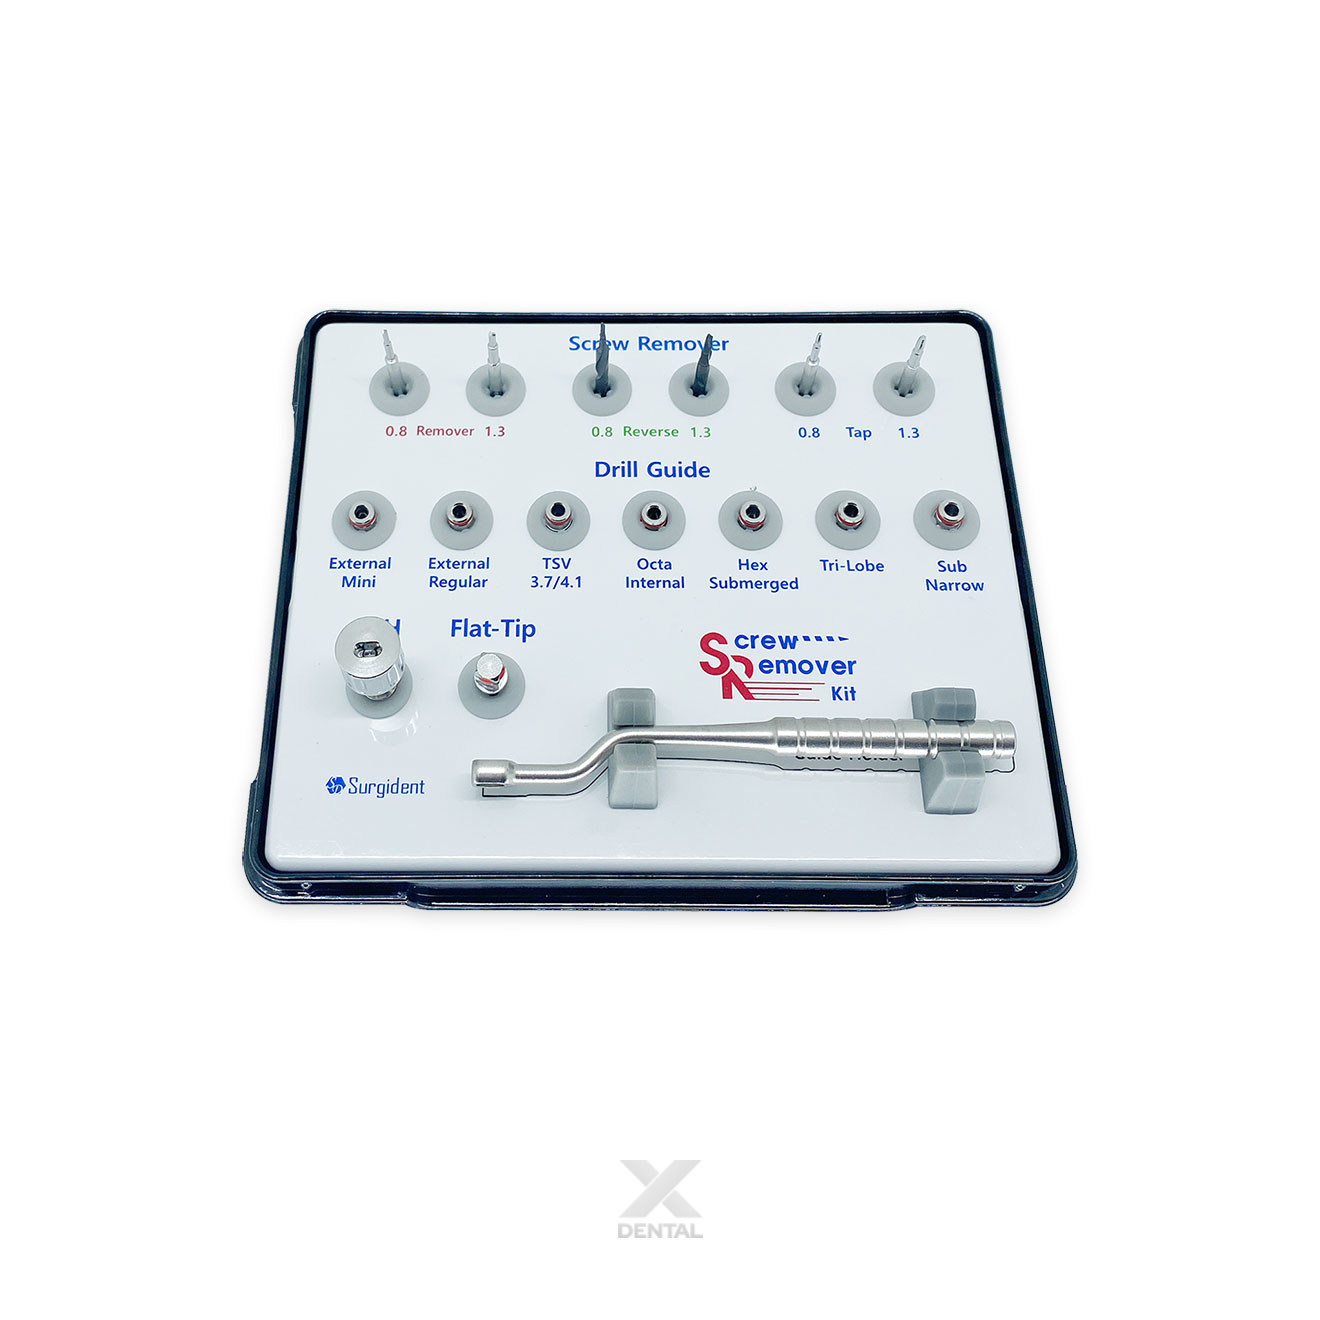
Universal Screw Removal Kit - SURGIDENT®
A variety of screw removal instruments are included which allow clinicians to remove both fractured and stripped prosthetic screws. This kit provides everything.
Screw Removal Components
- Prosthetic guide holder
- Long ratchet wrench
- Adapter (contra Angle to 4mm square)
- Reverse drills
- Reverse taps
- Flat tip driver
- Prosthetic guides (listed below)
External Mini (M)
- Hi-Tec Summit
- Nobel Biocare Branemark System NP
Octa Internal (O)
- Hi-Tec Tite-Fit & Tapered Tite-Fite
- Straumann ITI Tissue Level
- Implant Direct SwishPlant
TSV 3.7I4.1
- Hi-Tec Logict, Spark, Self-Thread
- BioHorizons Tapered Internal 3.7 and 4.70
- Implant Direct Legacy (3.7 and 4.7 internal hex)
- MIS 3.3. 3.75. and 4.20
- Zimmer TSV 3.7. 4.1 and 4.70
External Regular (W)
- Nobel Biocare Branemark System RPO
Hex Submerged (H)
- Hi-Tec Logic, Implex, ExpertNL
- Nobel Biocare NobelActive
Trilobe 3.5 NP
- Hi-Tec Vision@ 3,5
- Nobel Biocare Tri Lobe@ 3.5
Instructions for Stripped Screw Removal
Stripped screws are generally more difficult to remove than fractured screws because fractured screws are not under compression. The most effective method of removing a stripped screw is to create a flathead channel with a round bur, and then use a flat head driver to reverse the screw out of position.
Step 1
Using a 1/2 round bur in a high-speed handpiece, create a channel on the head of the screw across the diameter of the head, creating a flat head.
Step 2
After the channel is created, use the FTD-01 and ratchet wrench to back the screw out.
Instructions for Fractured Screw Removal
Step 1
Press the remover drill (D-REM) in the reverse direction (under 80rpm) on the top of the fractured screw to reverse the screw fragment out of the screw channel.
Step 2
If the remover drill is unsuccessful: Use the provided guide information to select the correct prosthetic guide -based on the implant platform.
Step 3
Attach the selected guide to the guide handle and engage the connection within the implant.
Step 4
With your handpiece in reverse (1,200-1,300 rpm); create a divot in the top of the screw with the D-REM.